


Months prior to the big move, I had a list written out with furniture to purchase. I created budgets for every room in the house and prioritized the expenses based on the research I did online. I knew in the living room that I had my eyes set on a nice couch which meant that I had to be a little more cautious with my other living room expenses. Every room didn’t have to be furnished right away but I knew that a tv stand was necessary if I wanted to get it set up. Since I was decorating my house with an intensional vision, I didn’t want to spend over $200 on a stand. I kept my eyes peeled at thrift shops, antique stores and the local Facebook online yard sales. On day, I was hanging out with my sister when she found on the FB online yard sale page a family friend of ours giving away a tv stand for free! Although, I didn’t have a plan of action at that point how I wanted the living room to be set up but now I cannot imagine it any other way. One thing I did know was that I didn’t want the tv to be the main focus so a corner unit was exactly what the room called for. Having the tv situated to the side was ideal! Although, it wasn’t quite the style I envisioned for the space but I knew with a little love and time, I could make it work! Here are the results…
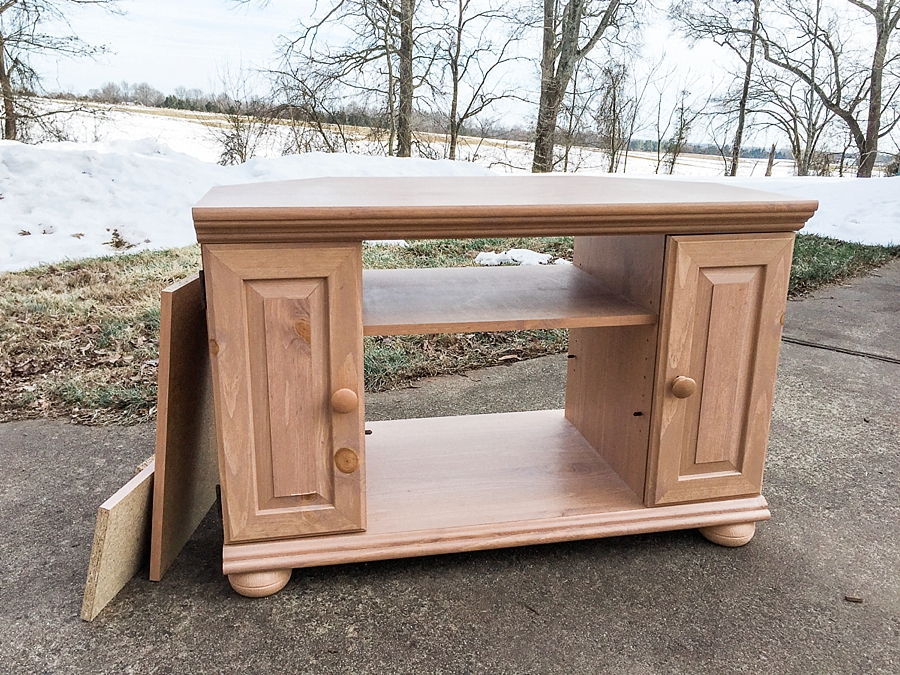
Here is the free tv stand my sister found! Wohoo!
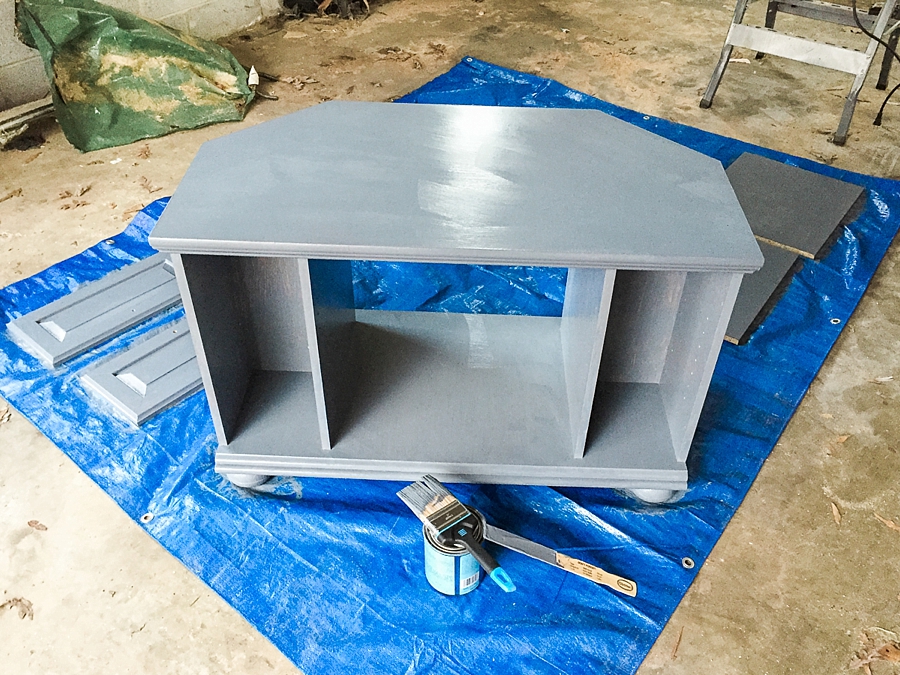
First step, I took all of the shelves out as well as the doors. After sanding and cleaning the wood, I was able to start painting! It took a couple of layers, but I finally got it to the point where the paint looked even. 🙂 Let the paint dry completely and then you can start assembling the pieces together again. For the doors, I wanted to fancy them up a little bit. Instead of the wooden knobs, I ran out to Home Depot and picked up a couple of glass knobs for a few dollars. SUPER easy fix to make it look like a completely new piece!
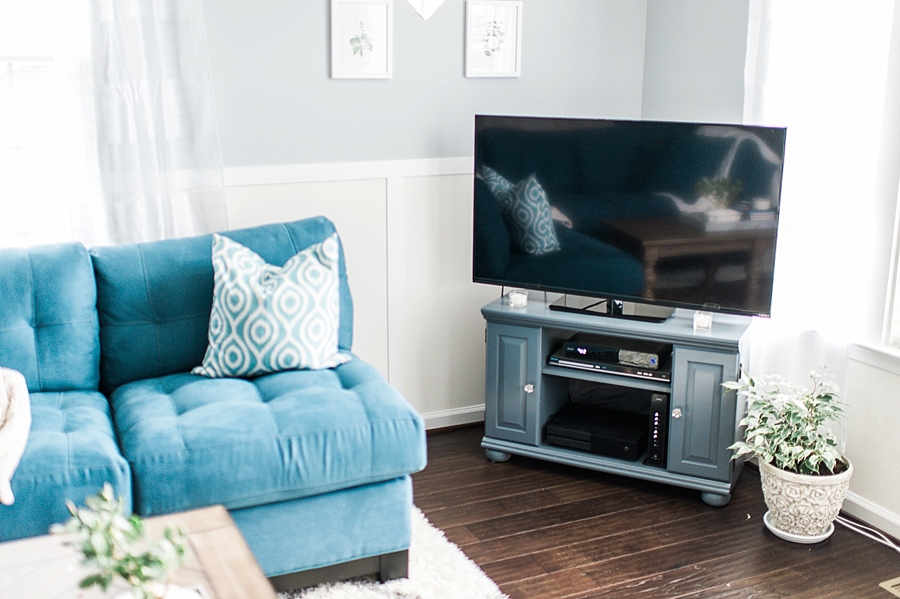
WHA-LA! The piece is done!!! One thing I didn’t particularly like was the open back. I don’t like seeing all of the inevitable cords past and I didn’t want to spend a ton of time organizing/tying them up so you didn’t see them. My solution? I had a small tension rod and ran out to JoAnn Fabrics for a little bit of dark grey fabric that was on sale. After draping the fabric over the tension rod and situating it in the back between, now you don’t see the nasty disaster of cords behind the tv! 🙂
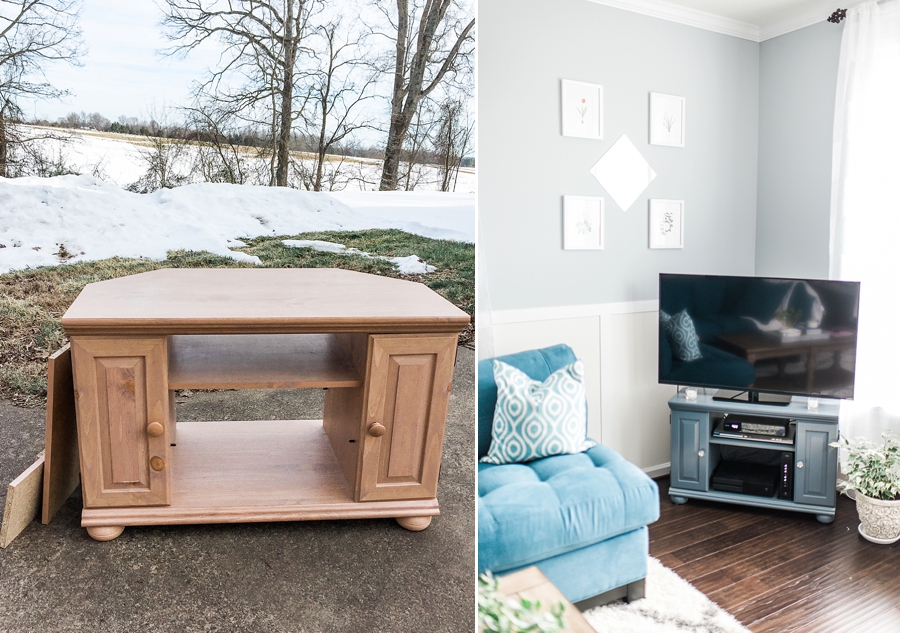
After the project was all set and done, I spent basically pennies in comparison to what I would have spent at a store!
Free tv stand+ $9 1 quart grey paint + $6 glass knobs + $3 fabric = Total spendings … $18!!!
Hope this inspires you to take on your own projects! 🙂


+ COMMENTS
add a comment