


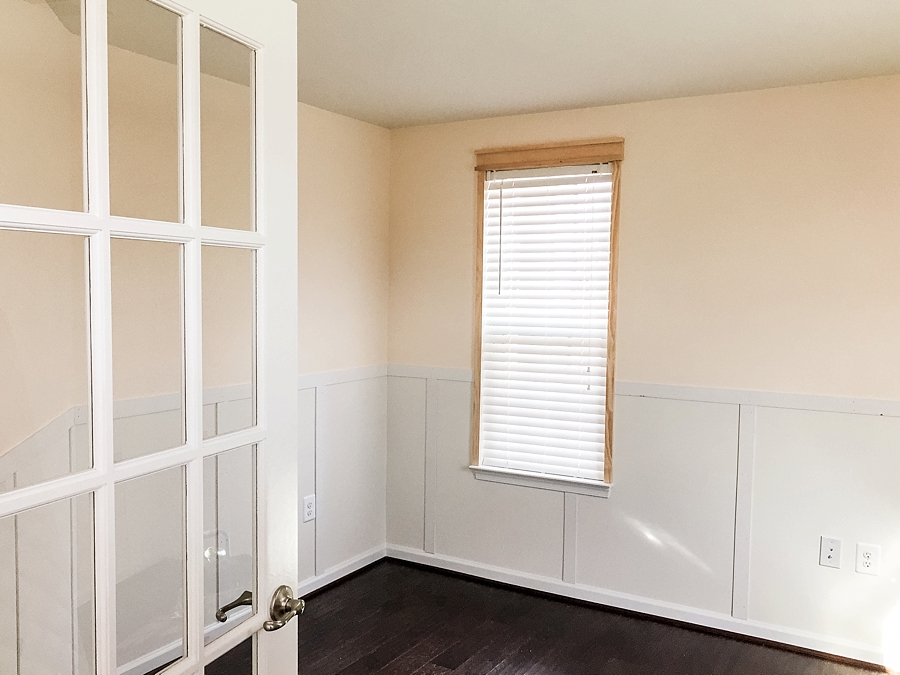
It has been a while since my last DIY home project blog! I cannot necessarily write a blog post how to install trim around your house since I had help with that, but I have had people ask about the window trim! You can find this project on Pinterest, which is where I found my inspiration. It seemed easy so I decided to go for it! I love the simplicity of the project the design. The window trim is impressive, polished while heightening the window for a grand look. It made sense to do this project before installing board and batten trim around the room because I wanted the horizontal room trim to meet the side window trim flawlessly.
Materials you will need to complete this project:
Pencil
Measuring tool
Sketchpad to draw out design
Miter Box Saw
Wood
Caulk
Air Pressure Gun
Paint + Painting supplies
It’s important that you draw out the design first. I made this project SUPER easy because I did not take out the original window trim lining the bottom of the window. If you want to do that, I highly advise looking for another blog. There are SO many on Pinterest to check out!! 🙂 I took the bottom window trim in consideration when planning out my design. The ledge only went out two inches, so that was my maximum width for the vertical boards around the window (1×2). I measured from the top of the bottom ledge to the top of the window. Say if I had a 72-inch window (height), I would need to purchase two 1x2x72 to line both sides of the window to stretch from the bottom ledge to the top of the window. When it comes to measuring the width of the window for the top piece of the design, make sure to take consideration of the vertical board width. The overall design looks great when the top horizontal boards over the window hang over the vertical boards. Meaning, if I have a window that measures 34-inches (width), I added two inches to each side (from the 1×2 vertical boards) plus another inch to hang over bringing the total width of the horizontal boards to 40 inches. Here is a visual below:
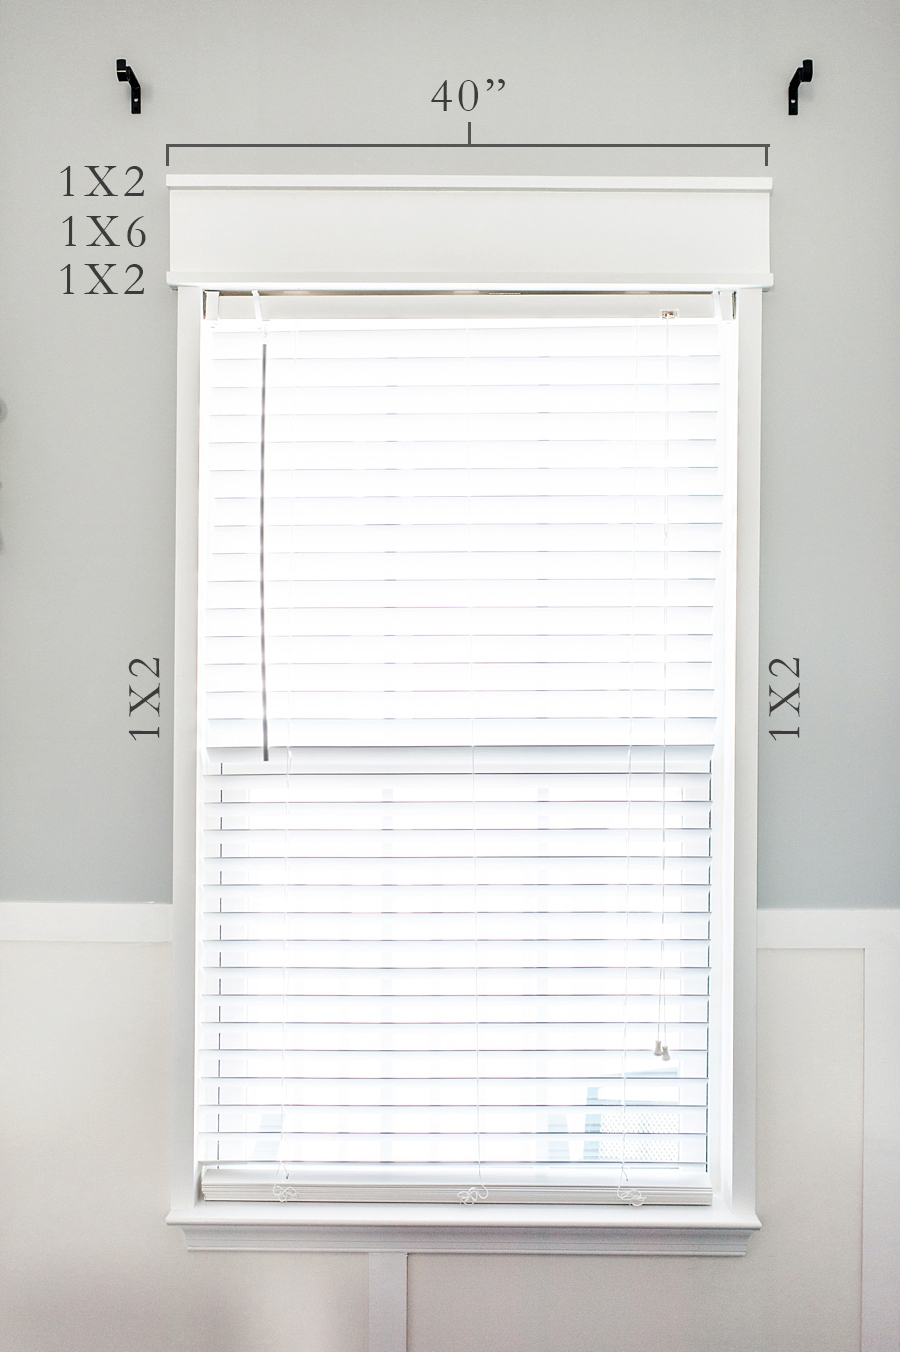
After you have your width figured out, you will need to purchase two sizes of wood. I went with a 1×2 and 1×6. The 1×2 will sit under and on top of the 1×6. Again, refer to the visual above. 🙂 Keep in mind that the 1×2 boards will situate with the one inch sitting against the wall to create depth from the 1×6 board. You can see a side profile shot of the window in the photos below!
Once I had my measurements in place, I went to Home Depot! If you end up with someone kind enough (during a slow time of the day), I’m sure they would cut it for you! My mom has a miter box, so I brought the wood home and cut the wood myself. SUPER easy! Measure twice and cut! I loved taking the boards and puzzle piecing them around the window to see how it looked. More importantly, it ensures that everything is correct before nailing in place. If everything is good to go, it’s time to install! I had a family friend with an air pressure gun come in and do that for me since I don’t own one. Super helpful if you already own one or know someone!
Time to caulk! Caulking was the fun/not so fun part. I have a love/hate relationship with it because I love what it does but it can be tedious and repetitive. After you have caulked all nail holes and edges, it’s time to paint! I used Sherwin Williams satin white paint to match the other trim around my house. Painting the trim was the exciting part since it’s the final step! 🙂 Woohoo!
YOU’RE DONE! Not bad at all! 🙂
This photo below was after I finished cutting the wood.
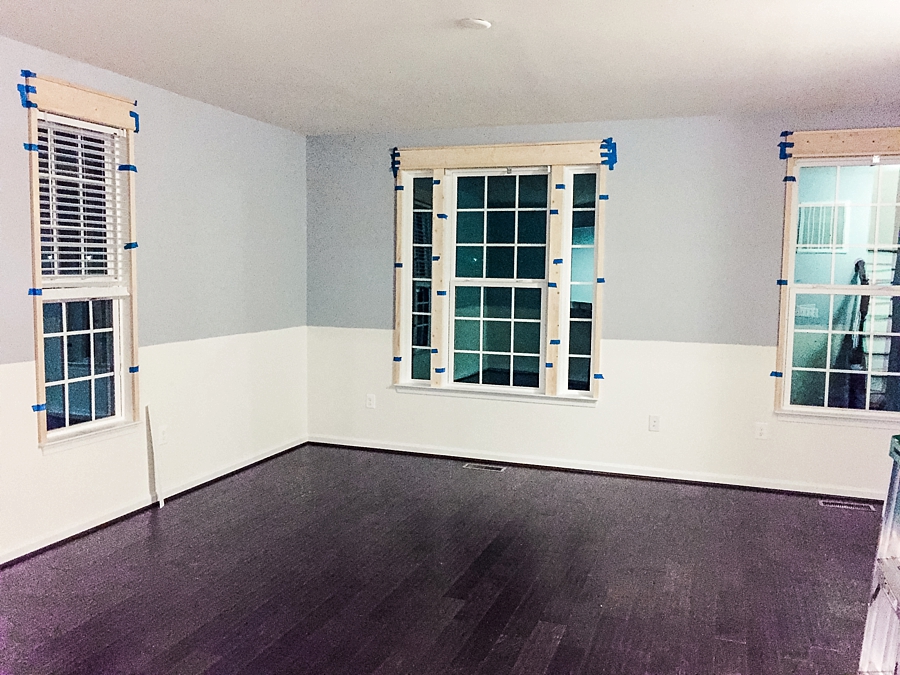 Nailed in place, ready to be caulked/painted! 🙂
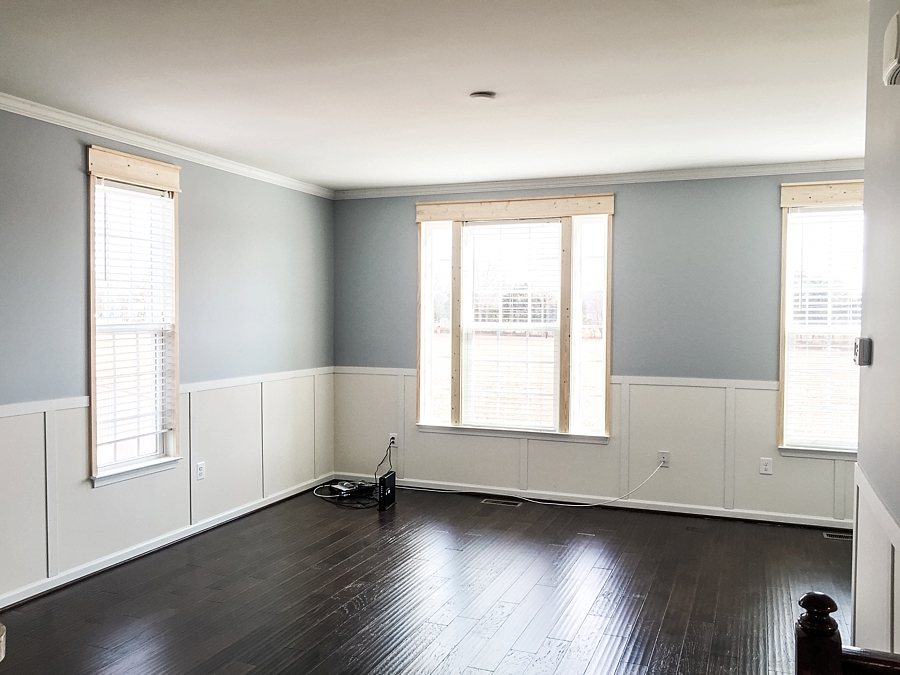 I did the same in my office space, but you will notice that the head piece at the top isn’t as tall as the photo above. The ceiling height in this room is lower and wanted to make sure I had enough room to install potential crown molding.
 I learned half way through caulking to wipe with a wet towel instead of letting it dry/sand it down. Easier, I promise!!
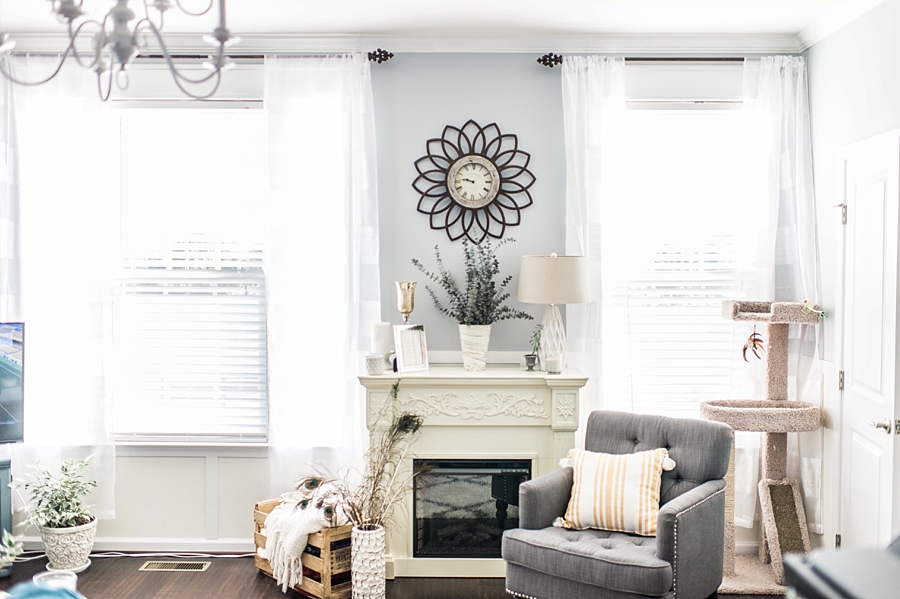
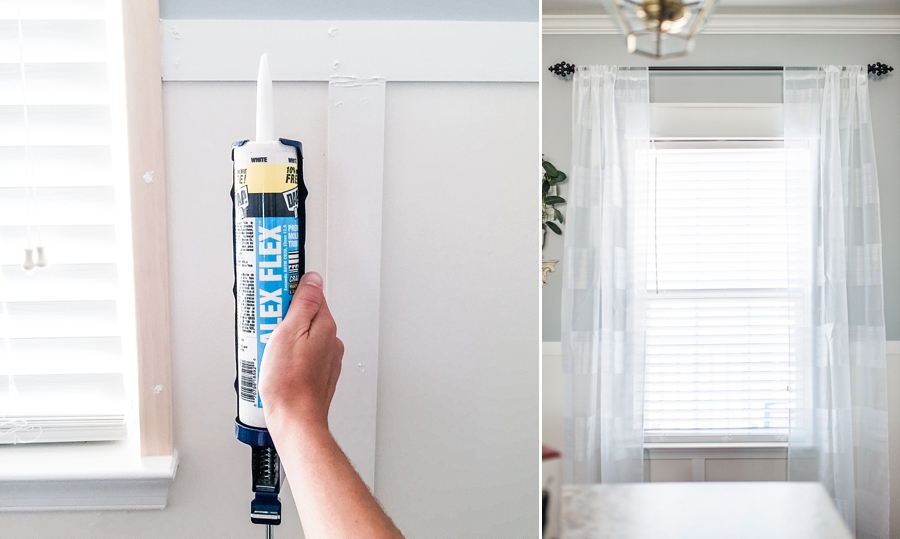 Final product! Love it! If I didn’t hang curtains, it would still look great and polished!
I took the curtains off, so you had the chance to see it. 🙂 Looks great with and without curtains!

Hope this inspires you to tackle a project in your house. 🙂 It takes time, but it’s easy!


+ COMMENTS
add a comment