


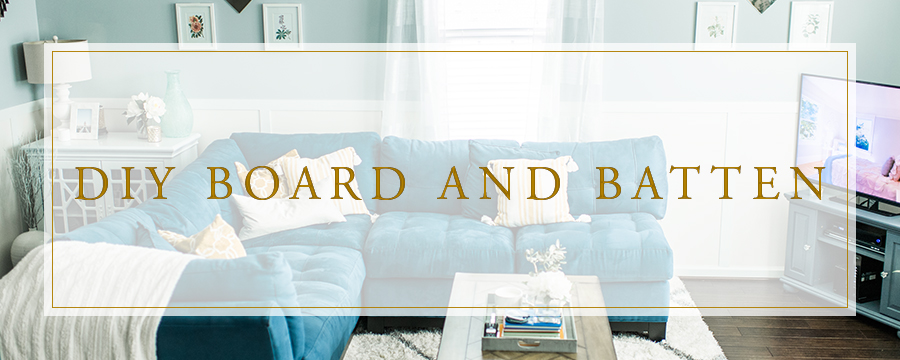
It has been a while since I have shared a DIY home project with you all! So today, I’m sharing how YOU can really jazz up a room with some wood, nails, caulk, and paint! When I was designing my home, I wanted the walls to have personality, but it had to blend with the atmosphere. Some wall treatments can be super fancy, so that was not the appropriate style. After researching different mouldings, board and batten was the way to go! 🙂 Thanks with the help of a family friend, I was able to conquer this project in my main living space as well as my office. What’s the best thing about board and batten? Straight cuts!!! No mitered edges, making it super easy for you to try it out!
What do you need?
Pencil and sketch pad
Measuring tape
Trim (Home Depot)
Miter saw or whatever you feel comfortable to make straight cuts
Nail gun
Caulk and caulk gun
Paint and painting supplies
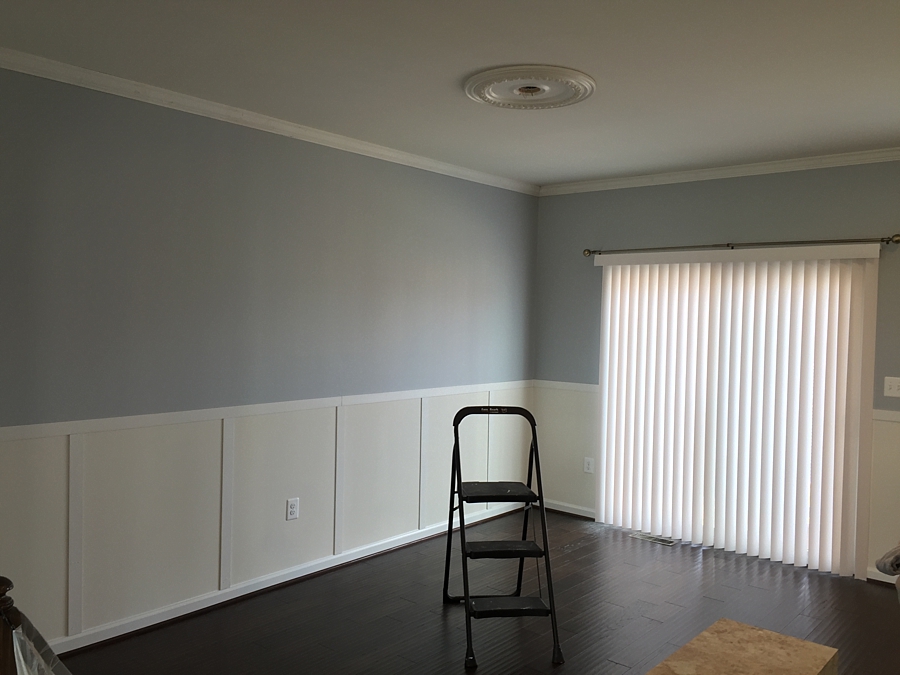
1)Paint the room your desired color(s). I chose to leave the bottom half eggshell white and paint the top half gray!
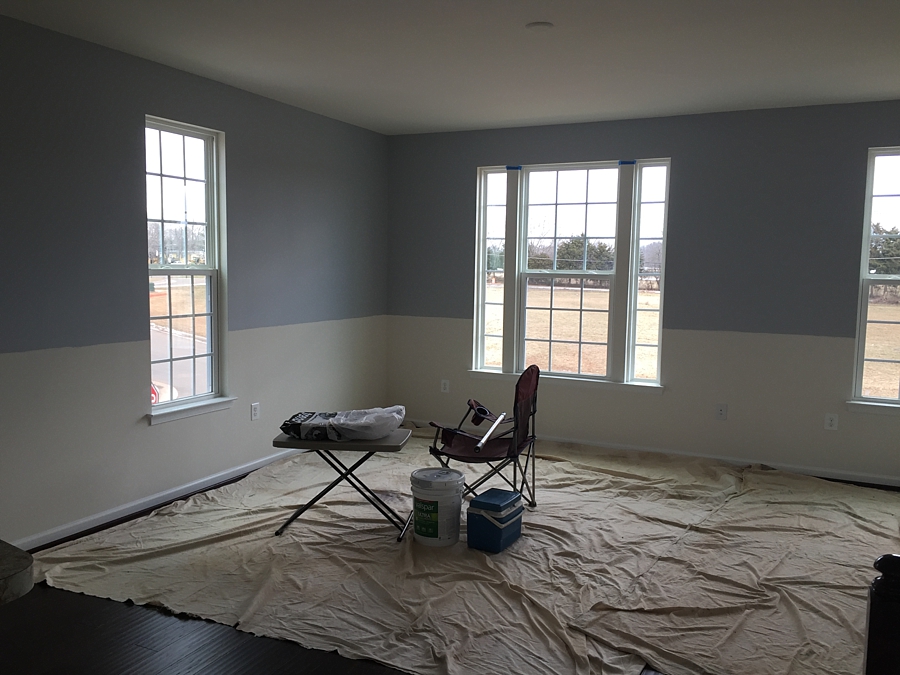
2) If you want to install any window treatments, now is the time to do so!! 🙂 If you want to learn how to do this window treatment, check out THIS blog post!!
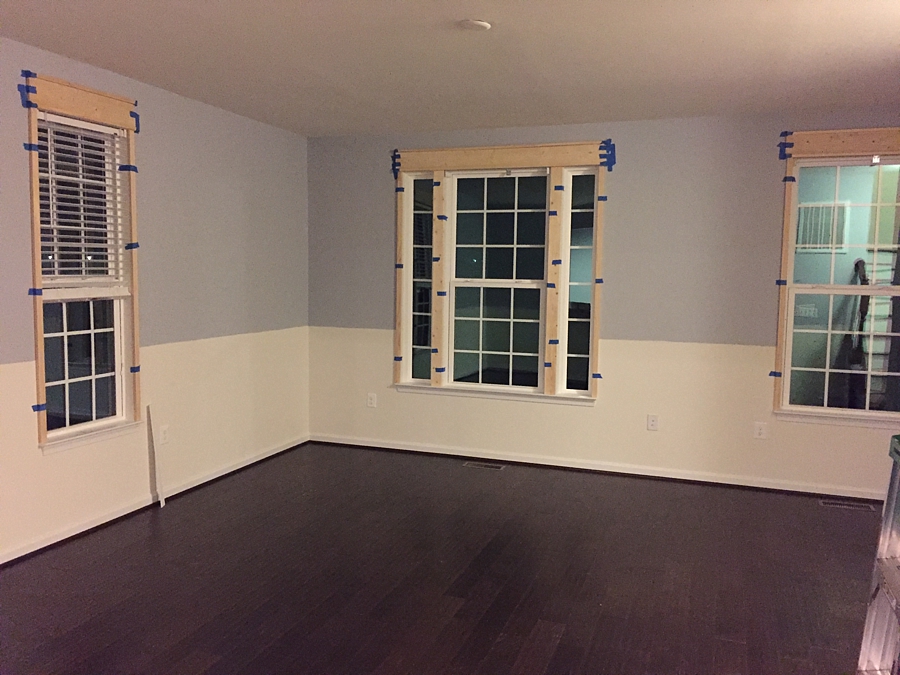
3) This is where my family friend came in handy! Measure the diameter of the room to configure how much wood to purchase. We decided to install the vertical panels on every stud to securely attach the wood to the drywall. Measure from the floor trim to the bottom edge of the horizontal piece to figure out the vertical measurement. Then multiply that measurement by how many pieces will go around the room. After you know how much wood to purchase, go to Home Depot and look for trim like THIS moulding!
4) Time to cut! 🙂 Install the horizontal pieces first around the room by using a nail gun. Don’t forget to pay attention to the corners when you are measuring/cutting the wood! Also, measure the vertical sections and make sure you cut accordingly because some places might vary.
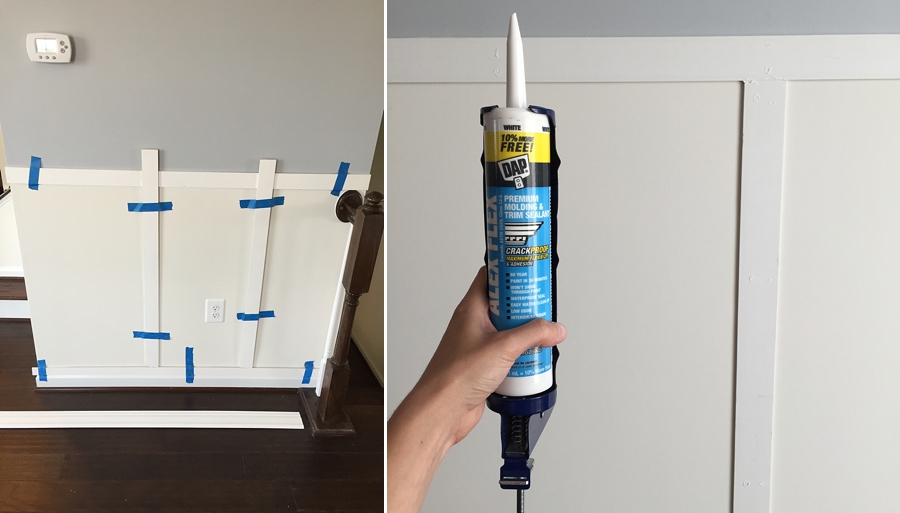
5) After you cut and nail gun the pieces to the wall, you’re ready to caulk! You can either dab the caulk on the wood, let it dry and sand it down OR you can take a wet finger and smear the extra caulk off the wood so you don’t have to go back and sand! 🙂 My preferred way! Using caulk is SO necessary so you can cover the nails and edges!!
6) Last but not least, you are ready to paint the trim!! I chose to paint it the same exact semi-glossy white as the floor trim so it blended into the pre-existing trim. This blog post makes trimming sound easy! It is, but can be time-consuming! 🙂 Obviously, worth it!!
Here are the results!
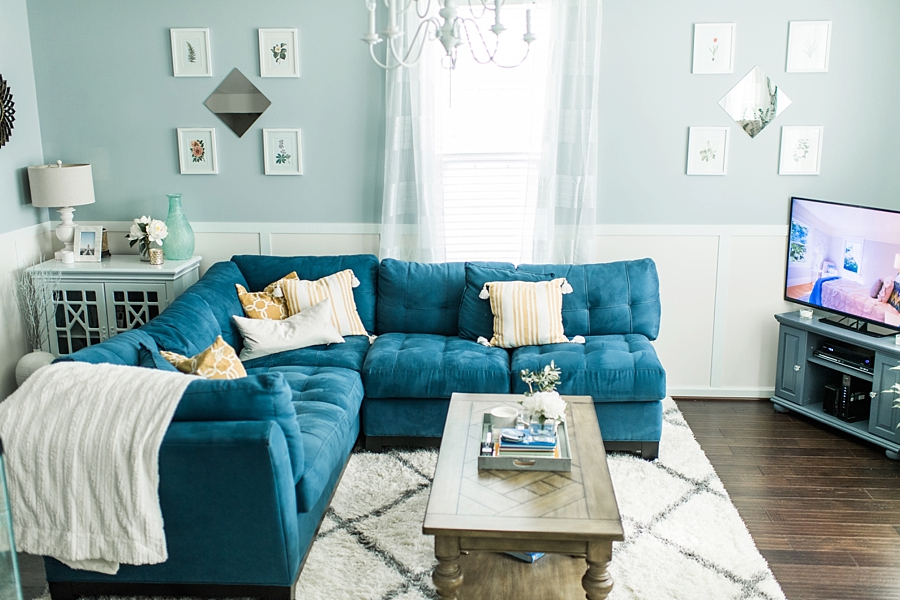
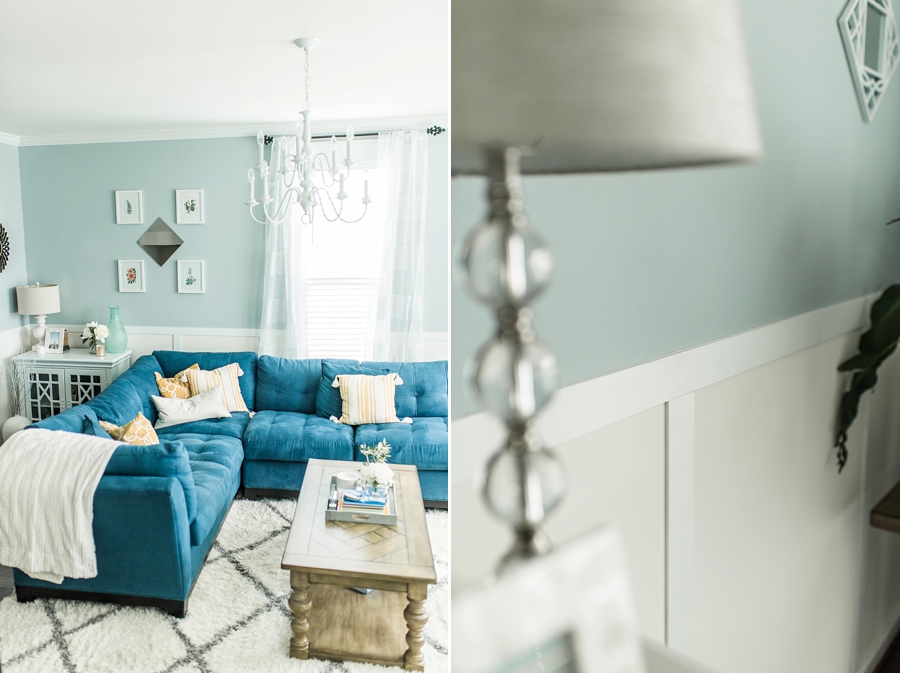
Test it out yourself and make a statement in your home! 🙂 You’ll love the results!!!


+ COMMENTS
add a comment