


Guys, it seems like FOREVER since I have posted a DIY project … Well, because it has been a few months! I’m looking forward to sharing more projects over the months to come. For the meantime, I’m excited to share my TV frame I hand built all by myself! I made the mistake when customizing my home options to say that I didn’t want to hang my TV in my bedroom. I had NO idea how I wanted to decorate my bedroom and didn’t want to make any premature choices. It turned out that there was a very obvious place to install my TV so I should have just done it when I filled out the paperwork. I ended up having to do it myself, which wasn’t a problem, it was just extra work. The plus side, I now have the knowledge to share with you all! 🙂

How to Hang Your TV/Hide the Cords Behind the Wall
If your TV is already hanging with cords concealed behind the wall, skip ahead! 🙂
Tools you need:
Jab saw
Pencil
A small weight (we used a screw bit, lol!)
A long string
One hole wall plate to make the cut hole in the dry wall “prettier”
Decide where you want your TV to hang and find your studs. Mark where you plan to screw in the TV mount so your hole that we will cut into the wall does not interfere with the mount. Next, mark a spot for where the cords will enter into the wall. Make sure the cords will be easily accessible to this marking from the TV. All of my inputs are on one side of the TV making it easy to depict where I should gather the cords. Take your hole wall plate and outline a circle so you know how big of a hole you will cut out. Next, take a stud finder and just make sure there isn’t a stud there before you get too far into the project. Mark another spot on the wall, below, where you want the wires to come back out. If you have a TV console table of some sort, you will want to make sure the hole wall plate will be hidden behind so cords aren’t peeking out. The tricky part is to make sure this hole is exactly underneath/aligned with the hole above so when you drop the wires through, you will be able to retrieve them easily. It sounds tricky but it’s actually not tricky at all! No need for rulers because you just need your string with a weight. 🙂 Easy! Hold it at the initial marked spot above and drop it down (hanging) and see where the string lays against the wall. Make your marking and again, draw another hole using the hole wall plate.

This is the fun part! Use your jab saw and cut out the dry wall from your stenciled markings! Go ahead and cut a bigger hole than your stencil because you want enough room for your fingers, weight and cords to squeeze through. Plus, that’s why we have a cover to cover up the hole! I was very cautious while I was cutting the wall because I didn’t want to find any surprises (wires) while using a saw. That would not be good … I was just being paranoid and everything worked out fine! 🙂 Next, make sure your TV mount is installed on the wall (without mounting the TV). This part you are going to need an extra hand. Since my mount is a flush mount without an arm to bring the TV away from the wall while working on the cords, I had to have my mom hold on to the TV while fishing the cords down. Before fishing the cords, you will need to take your string with the weight and drop it through the top hole and retrieve it through the bottom hole, with the string still hanging out of the top hole. Take your cords and tie them together with the top part of the string and start pulling them through the wall. Once you have pulled them through the bottom hole, hang the TV so it is good to go. Finally, slip the hole wall plate through the bottom hole before plugging in (I didn’t put a hole wall plate on the top hole because it’s covered by the TV and makes it easier for future adjustments) and secure in place. Plug in and we are ready to move onto the next step, how to frame your TV!
How to Frame Your TV
Tools you need:
Ruler
Pencil
Table Saw (or something to cut a beautiful 45 degree angle)
Primed Wood (props the molding from the wall)
Primed Trim Molding (decorative — I used crown molding)
L shaped brackets (4)
1.5 inch Wood Screws
Screwdriver
Hammer
Nails
Caulk
Paint / paint brush
3 Sticky Felt Furniture Pads
6 Large Velcro Command Strips
This is the fun part!! I didn’t really know what I was getting myself into but I did a lot of research, thanks to Pinterest! There are SO many different scenarios out there, so I just combined a bunch of different ideas to make this work for me! 🙂 This only took a couple of hours at most so it was not bad at all!! The important part is to make sure you have a plan of action, which is why I’m here to help! It’s veryyyyy important that you measure correctly and double check by drawing it out on paper. You’re basically building a shadowbox with decorative trim sitting on top of it so you don’t see any part of the TV except the screen. The tricky part when measuring is you also don’t want the trim so far in front, overlapping or leaving a noticeable gap from the TV screen. Measuring is everything in this project! So when measuring, measure top to bottom, left to right and from the wall to the face of the TV. Remember to take in consideration the thickness of the wood!
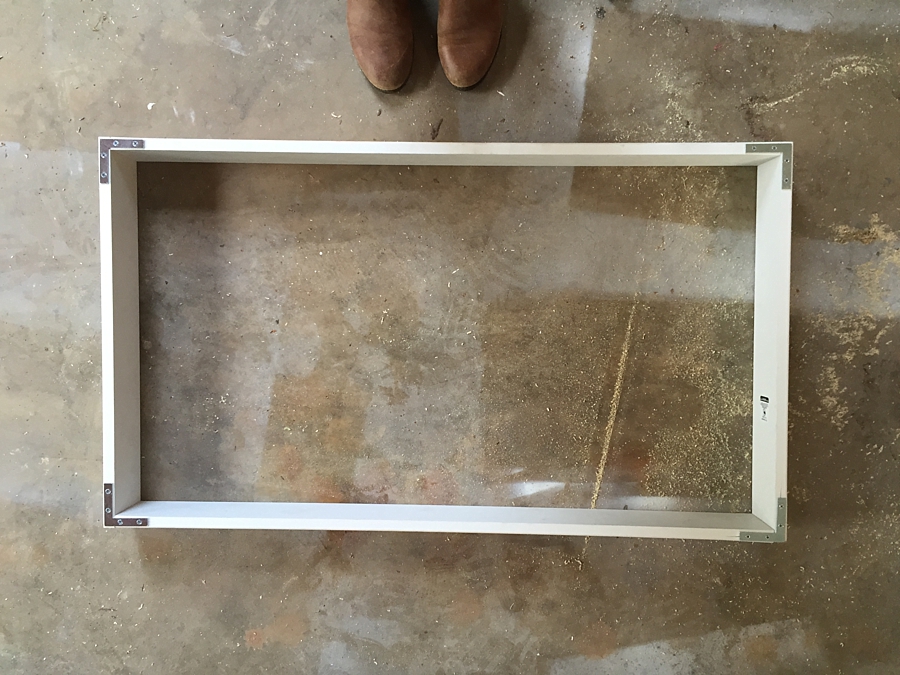
I had the guy from Home Depot cut my primed wood for the shadowbox to the exact measurements I needed. Once I got home, all I had to do was nail them together the corners to get the project started. I placed the L shaped brackets and made sure I had perfect 90 degree angles. Go ahead and screw the L shaped brackets in place. This will now be the backside of the TV frame! After you have created the shadowbox, we can move onto the decorative face to the frame. 🙂
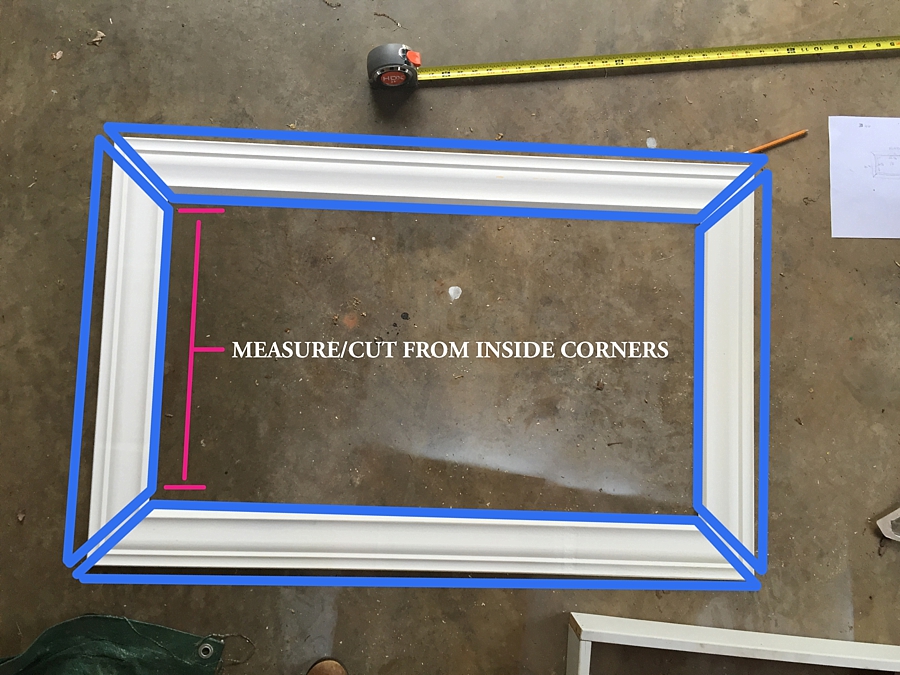
This part is going to be important. Measure and check at least twice before cutting the crown molding, decorative trim for the front of the frame! I marked the inside corner where I want to make the cut so I knew I wasn’t cutting off more than intended. Remember, the measurement of the inside corners should equal the top to bottom measurement of your TV. This also goes for the horizontal boards, inside cuts (left to right measurement of the TV). I used a table saw to get the perfect 45 degree angles. After cutting the four pieces, I assembled them on the ground to make sure the decorative part of the frame is squared and perfect. If it’s good to go, we can move forward with the final assembly! Don’t worry if there are cosmetic imperfections, we can cover it up with caulk later! 🙂
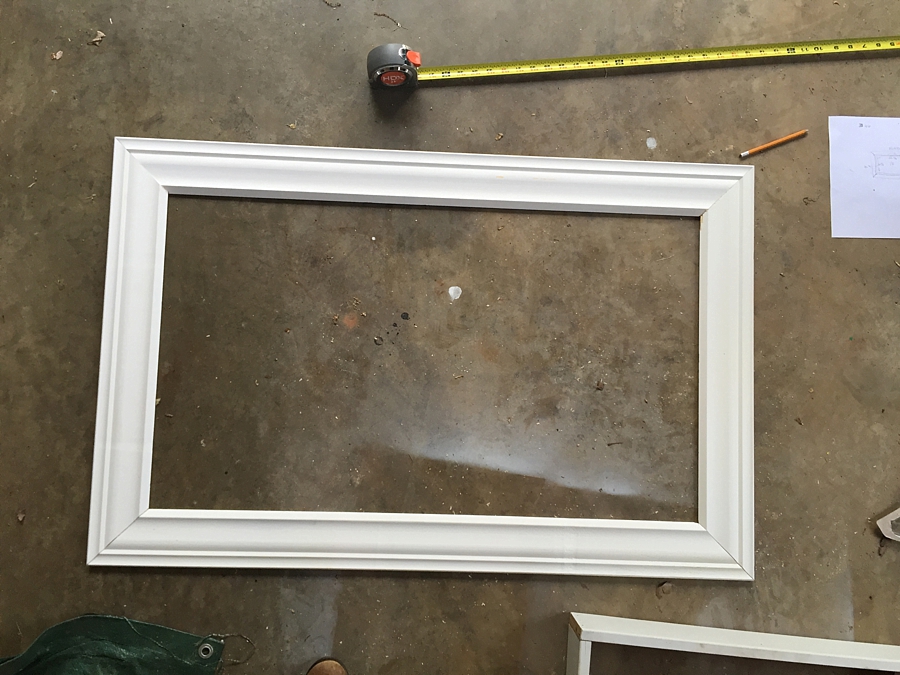
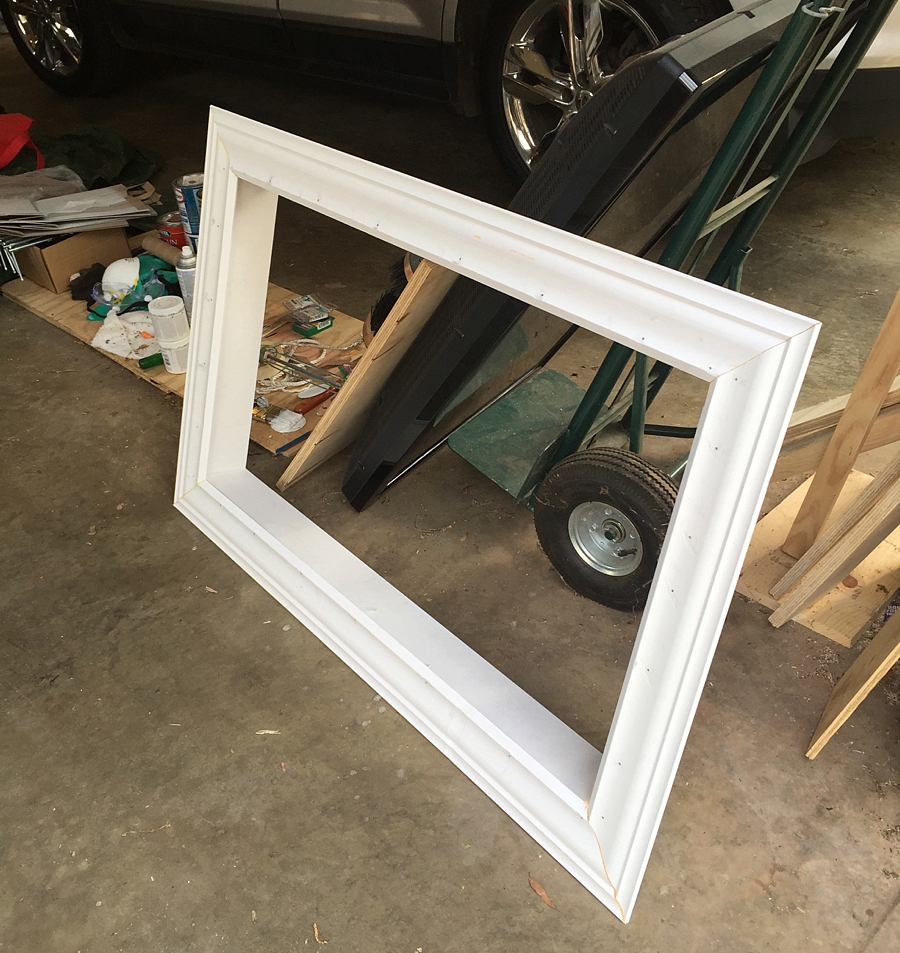
Make sure the shadowbox part is positioned on the ground where you cannot see the L brackets. Place the four pieces of the decorative trim and lay them on top of the shadowbox. Go ahead and start nailing them in! I made rotations, nailing in one nail at a time into each board until they were secured in place. I didn’t want to nail one board completely before nailing the others in place in case something shifted. Almost done!!! Once it is good, caulk will be our best friend to cover up those screws/nails/corner facade. Next, paint the frame so it’s polished and pretty and let it dry overnight.
(Here is what is looked like after I nailed in the boards before caulking/painting)
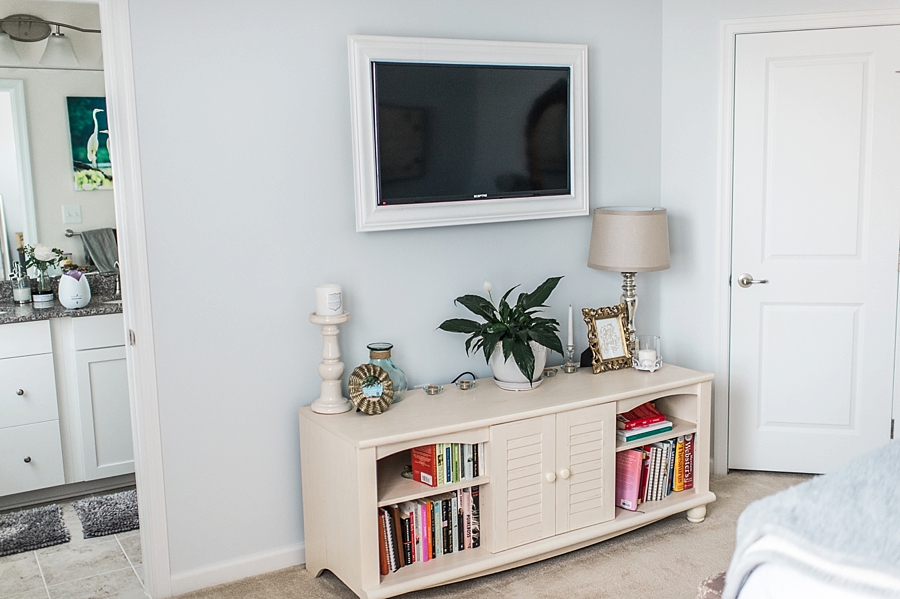
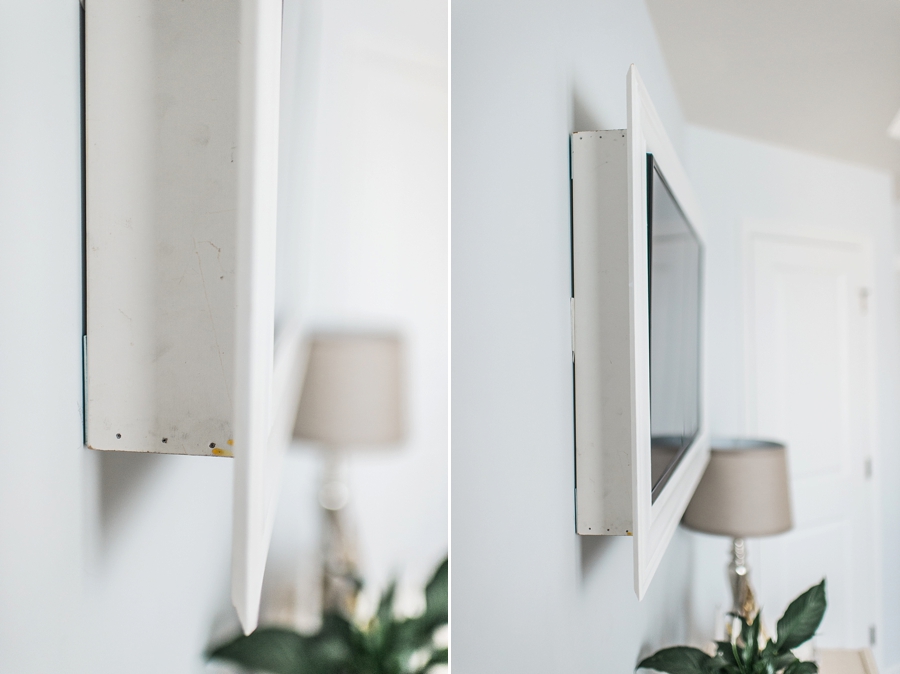
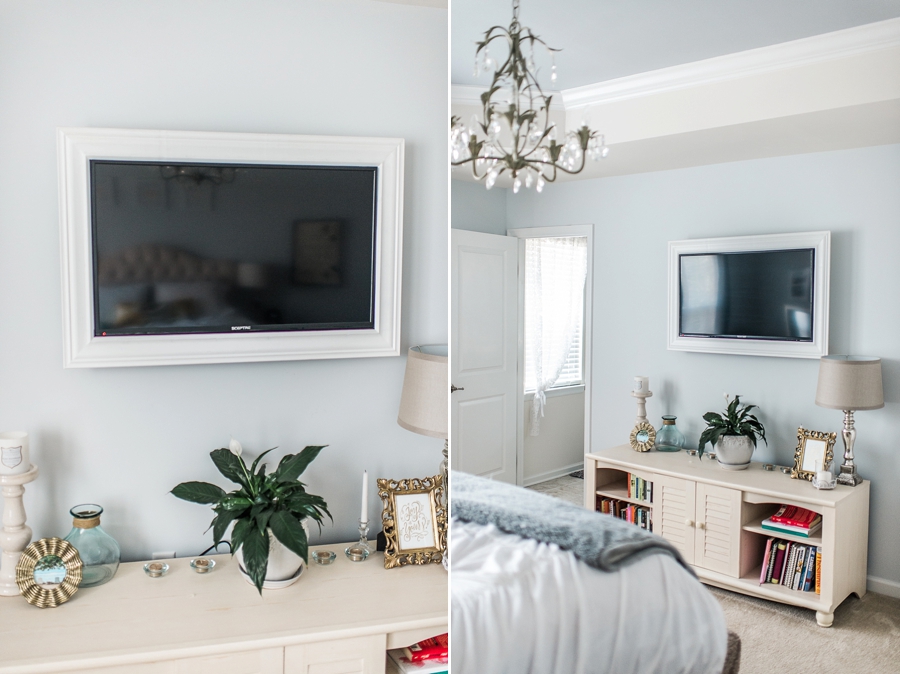
Hanging the TV frame is easy! To protect the TV from the wood, I stuck three felt furniture pads on the top inside of the frame. Then to secure the frame in place on the wall, no need for any hardware since it was decently light! I used six velcro command strips on the backside of the frame!

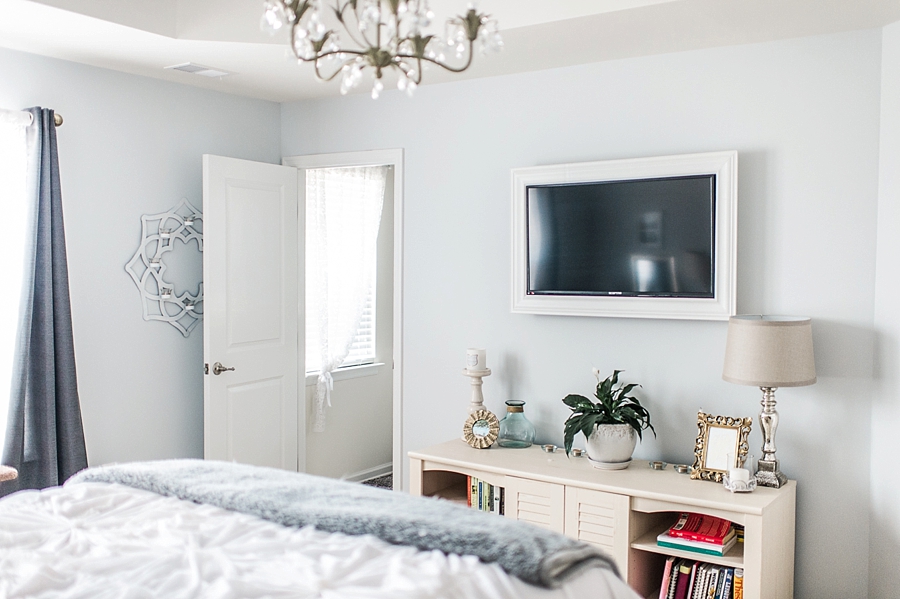
I stuck it on in place and … TA DA!! Love the turn out!!! 🙂
 I have to admit that I didn’t not caulk the nails or paint on the sides! Oops! I built this frame two days before my open house party. 😉


+ COMMENTS
add a comment